Crash Restraint Blog Archives (2010-2016)

A Chest-loading Takate Kote

Topologist

Important Update: There is a newer version of this tie published; this article is of purely historical interest.

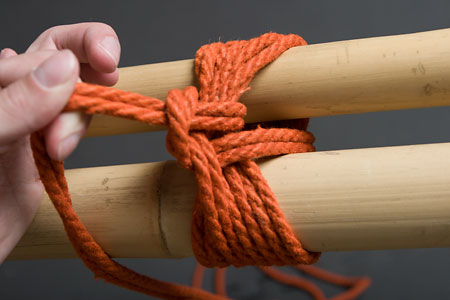
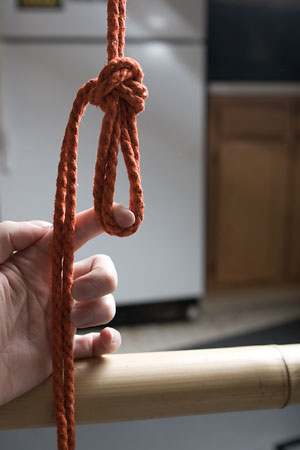
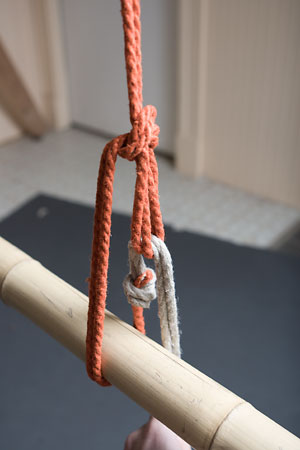
There is some debate in the community over the relative safety of the takate kote for suspension; regardless of how you feel about that, you may find these variations useful. The general idea is that by adding a few well-placed knots, suspension load can be shifted from the arms to the chest, while maintaining the general look, feel, and experience of a normal TK. Most bottoms seem to find this more comfortable, and my hope is that it will prove safer.

Some disclaimers:

First of all, watching these videos does not make you qualified to do this tie. These are intended for an audience already familiar and comfortable with tying and suspending with TKs; no attempt is made to cover the general safety information necessary to use these responsibly.

Second, while I have solicited feedback from a number of other riggers, and done extensive testing on a small number of bottoms,...

Read more 10 comment(s)

Reverse Somerville Bowline for Resistance Play

Topologist

I mentioned when I first posted the RSB that I considered it particularly useful for tying someone who was struggling, because it didn't require leaving room to pass a line under the cuff. However, if you're going to leave someone in a tie for a while, or if you're going to suspend with it, you don't want the cuff too tight. I recently had exactly this situation come up in preparing my performance for Citadel's post-pride party/demos, where I wanted to do a "take up", tying a struggling bottom into a puppet suspension.

It turns out, you can actually tie the RSB onto a moving target in a way that maintains space between the cuff and the limb. Here's a quick, unscripted video, just to show putting a bunch of column ties onto someone who's resisting:


And here's an illustration/explanation of what I was doing, there:

Read more 4 comment(s)

Slipped Somerville Bowline

Topologist

Personally I've never found any particular need for this -- I don't usually want to release a column tie while loaded -- but there was some previous discussion in which people were bemoaning not being able to untie a Somerville Bowline while under tension.

So if, for whatever reason, you want an ultra-quick-release column tie, here's a simple modification:

This has, I think, everything you could want in a quick-release knot -- when in the "locked" configuration, it would be very hard to release accidentally (and in fact you can tug on the bight all day long) -- but when you want to release it, it takes no force at all to unlock and then a single good yank not only releases the knot, but simultaneously unthreads the wrap passing under the cuff.

I'd say this is pretty inarguably easier to release than a Boola Boola, while also remaining more secure (if anything, it's even less likely to capsize than a normal Somerville Bowline).

Lochai also has a...

Read more 9 comment(s)

Reverse Somerville Bowline

Topologist

I've been sitting on this for a while, mostly because I'm not set up to do video, and people seem to prefer that to photos, but I finally gave in and just shot something off quickly with my phone gaffed to a tripod:

This is a fairly tricky knot, and finicky even once you know it, but in certain situations it is invaluable, most especially this one:

You might ask "but why can't I just do half hitches around the leg, like everybody does?". And the answer is that, if you really load that, from the standing line end, it tends to pull on just the first wrap, and cinch down -- it's not a real column tie. You'll notice that the tutorial I linked that image from then goes on to run the line back up to the harness, which is the usual way to avoid the issue; but with the RSB, you don't have to go back, you could end your rope at the cuff, or do another cuff further down the leg.

When I demonstrated this a while back at the last CT Grue, someone asked...

Read more 2 comment(s)

Somerville Bowline Media Update

Topologist

A few updates--

For those who may have missed it, Lochai has posted a great instructional video on the Somerville Bowline, demonstrating a third way of forming the loop beyond the two that I teach.

Trialsinner has invented the East Somerville Bowline, yet another way of forming the loop optimized for takedown play.

And finally, until 2/25 only, you can listen to my interview on Sexploration with Monika, where I talk about the Somerville Bowline amongst various other things.

Read more 0 comment(s)

Reverse French and Portuguese Bowlines

Topologist

There's been some discussion recently of reverse bowline column ties. Jack has long had posted on his site the Reverse French Bowline, a knot which I never paid much mind on account of his warning that it can collapse when the standing line is loaded (as one would expect, from the construction of the knot). However, WykD Dave points out that this is actually a very appealing way to begin a takate-kote.

Further, it turns out that this is actually the same as David Lawrence's Reverse Portuguese Bowline -- a knot I've wondered about for some time. So that begs the question..is it French, or is it Portuguese? For reference, here are the French Bowline and Portuguese Bowline.

I'd argue that Jack is correct in his naming -- the reverse bowline he demonstrates shares two key properties with the French Bowline -- only a single line passes behind the cuff, and the whole cuff is bundled together. A Reverse Portuguese Bowline should pass both sides of the bight under the...

Read more 0 comment(s)

New Video Tutorials

Topologist

RiggerJay had me record some video tutorials of my new column ties for Boston Rope Group last week:

My original pictorial explanation of the Somerville Bowline is here.

Read more 0 comment(s)

Larks-head Based Single Column

Topologist

I was surprised not to be able to find this tie, which to me is the single most fundamental column tie, documented anywhere on the internet or in the books that I own.

You start with a lark's head about the column:

Then reverse directions:

And wrap around to the desired cuff width:

Now if you look back to the beginning, there are two interlocking bights, one in a single line, the other in doubled rope. Pull the working end all the way through the doubled one:

Now reverse directions, and make a loop over the cuff to the opposite side:

And then run the line back under the cuff, and up through the loop:

Then tighten it down:

This is great if you're going to be pulling directly away from the column, or along it in the direction that you passed under the cuff. However, you'll notice that if you pull in the opposite direction, it tends to make the cuff roll over and bunch up:

To avoid this, if you're going to be pulling in that direction, perform...

Read more 0 comment(s)

Larks-head Based Double Column

Topologist

This is the double column version of the lark's head based single column. It starts the same way:

At this point, instead of hitching off the cuff, wrap all the way around the back of the cuff, going between the columns:

Adjusting the tension on this cinching wrap is what determines the overall snugness of the cuff:

At this point, there are several ways to finish it off. One is to split the lines around the front of the cuff and tie a square knot; that doesn't require much space between the columns, but had the disadvantage of only pulling on the back of the cuff, which can make it feel like it's tightening under tension. An alternate approach is to now hitch off the front of the cuff, similar to the single-column version, by first passing through the starting doubled-rope bight:

Then forming your hitch about the opposite half of the front of the cuff:

This will pull on the front and back of the cuff evenly, which is generally more comfortable. You'll notice,...

Read more 0 comment(s)

The Slipped Overhand Cuff

Topologist

This cuff is useful as what I call a "second column" tie -- for a situation where you've already got something attached to your rope, and want to now attach the line to a single column, while the standing part is under tension.

To start, make a slipped overhand knot in the standing part, such that the working end (not the side already tied off) can slip through to enlarge the loop:

Now take the working end around your column, and through the loop:

The nice thing about this tie is that once you get to this point, just hanging on to the working end will support the column / maintain the tension. Ignore the knot where the rope changes color -- that's just to make the lines contrast so that it's easier to see what's going on.

Next, you want to adjust the loop so that it ends just a little bit above the top of the column, by pulling rope through the knot to elongate (or, if necessary, shorten) it; this is also your last chance to adjust the overall...

Read more 3 comment(s)