Crash Restraint Blog Archives (2010-2016)

Miscellaneous Video Updates

Topologist

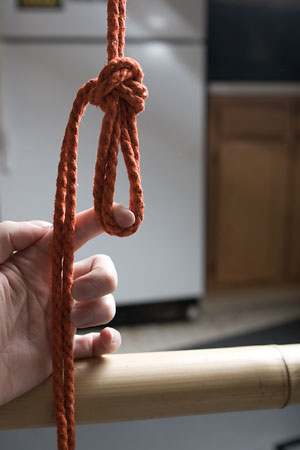
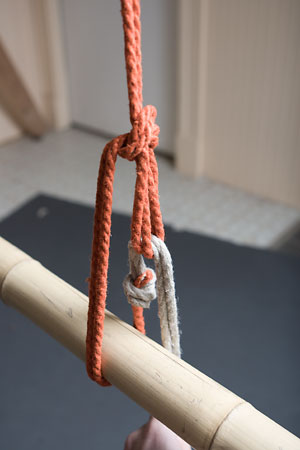
I recently posted several videos showing a new approach to second column ties; that is, how to tie another limb into the middle of a rope. That's useful for certain hip harnesses, tying wrists together behind the back, and a variety of bedroom ties.

There's also now a video of the third variation of the Quick Shoulder Harness -- one where you tie it standing/sitting, but it's comfortable to lie back on.

Finally, I filmed a neat elbows-behind-the-head tie which is useful for head support in suspension, or for standalone use as a floor tie.


Read more 0 comment(s)

Reverse Somerville Bowline

Topologist

I've been sitting on this for a while, mostly because I'm not set up to do video, and people seem to prefer that to photos, but I finally gave in and just shot something off quickly with my phone gaffed to a tripod:

This is a fairly tricky knot, and finicky even once you know it, but in certain situations it is invaluable, most especially this one:

You might ask "but why can't I just do half hitches around the leg, like everybody does?". And the answer is that, if you really load that, from the standing line end, it tends to pull on just the first wrap, and cinch down -- it's not a real column tie. You'll notice that the tutorial I linked that image from then goes on to run the line back up to the harness, which is the usual way to avoid the issue; but with the RSB, you don't have to go back, you could end your rope at the cuff, or do another cuff further down the leg.

When I demonstrated this a while back at the last CT Grue, someone asked...

Read more 2 comment(s)

The Slipped Overhand Cuff

Topologist

This cuff is useful as what I call a "second column" tie -- for a situation where you've already got something attached to your rope, and want to now attach the line to a single column, while the standing part is under tension.

To start, make a slipped overhand knot in the standing part, such that the working end (not the side already tied off) can slip through to enlarge the loop:

Now take the working end around your column, and through the loop:

The nice thing about this tie is that once you get to this point, just hanging on to the working end will support the column / maintain the tension. Ignore the knot where the rope changes color -- that's just to make the lines contrast so that it's easier to see what's going on.

Next, you want to adjust the loop so that it ends just a little bit above the top of the column, by pulling rope through the knot to elongate (or, if necessary, shorten) it; this is also your last chance to adjust the overall...

Read more 3 comment(s)